- How to Make Peanut Butter Granola Bars
- Can I Freeze Granola Bars?
- Other Topping Ideas for Granola Bars
- Gluten-Free Granola Bar Options
- Other On-the-Go Breakfast Ideas
- Common Questions
- Ready for Breakfast You Actually Want to Eat?
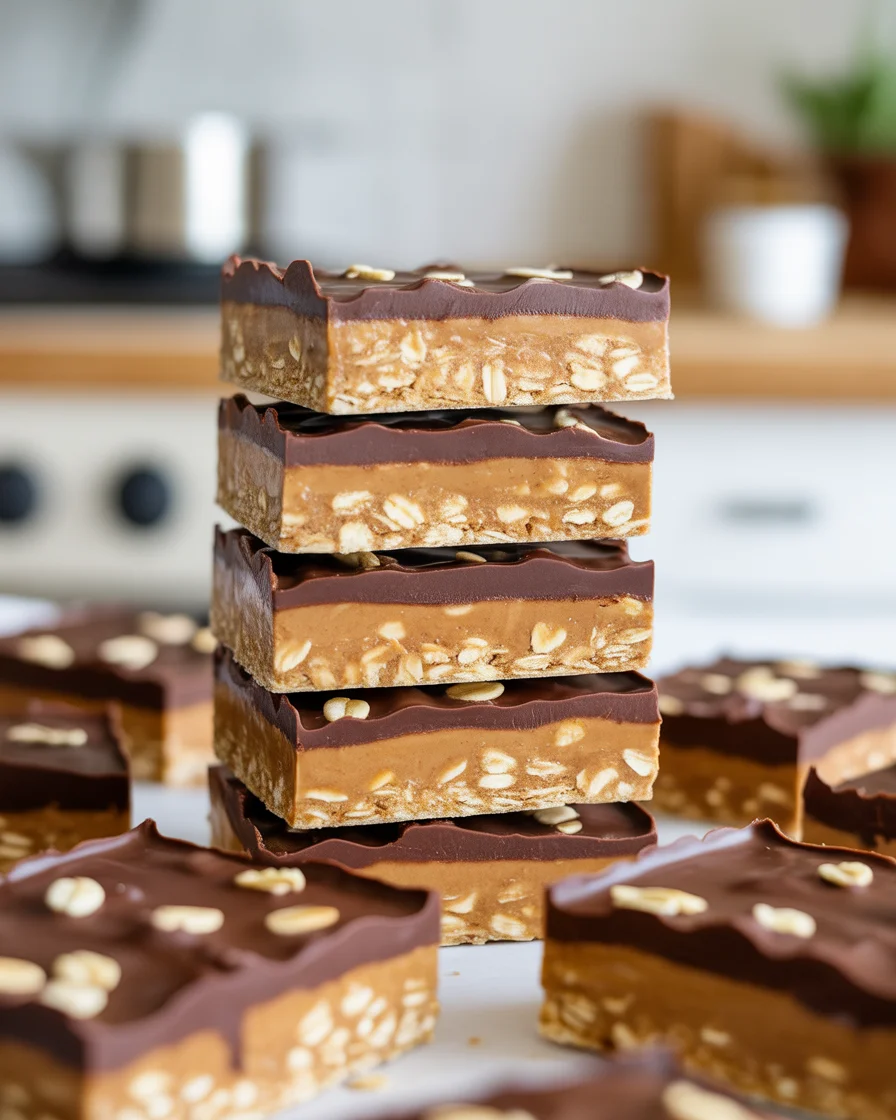
No-Bake Peanut Butter Granola Bars have totally saved my mornings. You know those days when you roll out of bed late, your brain’s still foggy, and the idea of cooking breakfast feels kinda like running a marathon? These little bars are my solution. Seriously, you grab one, and suddenly breakfast is done. Super easy, barely any mess, and you don’t need an oven. Plus, they hit the peanut butter craving spot (I mean, who can resist peanut butter?).

How to Make Peanut Butter Granola Bars
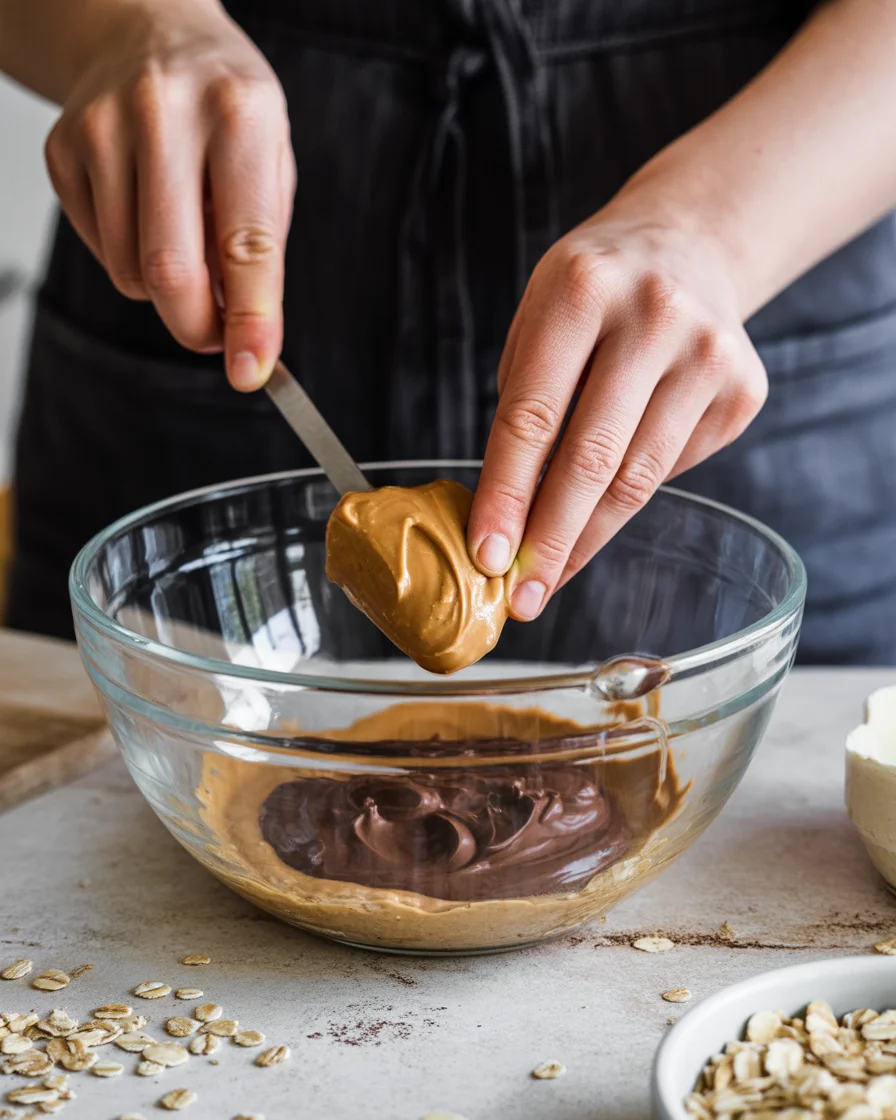
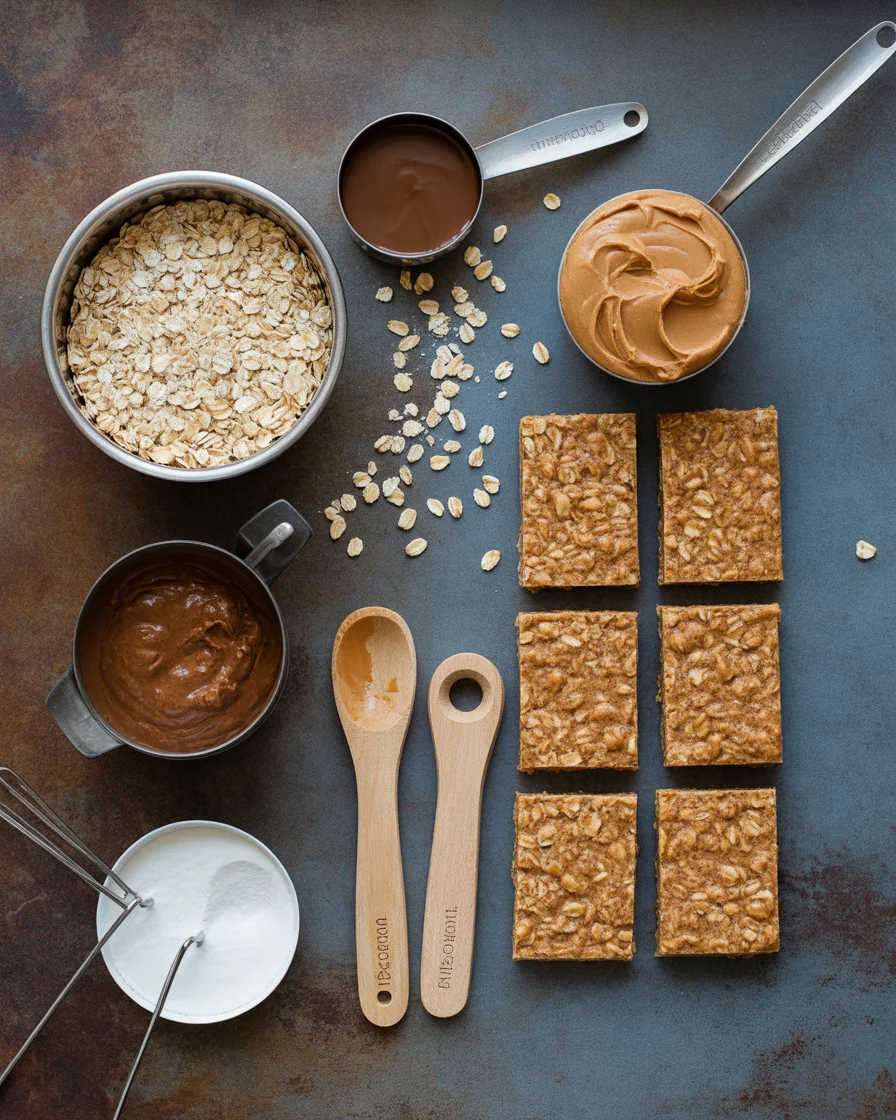
Alright, let’s get straight to the good part—the actual making of these magical bars. No baking, no complicated stuff, just stirring things together. I start with old-fashioned oats and honestly, use whatever brand you have buried in your pantry. Toss those in a large bowl. Then grab the jar of peanut butter—creamy works best for that ultra-smooth vibe. Mix the peanut butter with some honey and a pinch of salt right in a saucepan. Warm it up a bit, just so it gets all runny and friendly. (If you’re a “measure precisely” person, I’m sorry, but I usually eyeball it.)
Once it’s melted and looking glossy, pour it over the oats. Now comes the fun: add chocolate chips, dried fruit, even shredded coconut—go wild if you’re feeling fancy. Spread everything in a baking pan lined with foil or parchment. Press it down super hard (use another piece of parchment and a glass to really smoosh it).
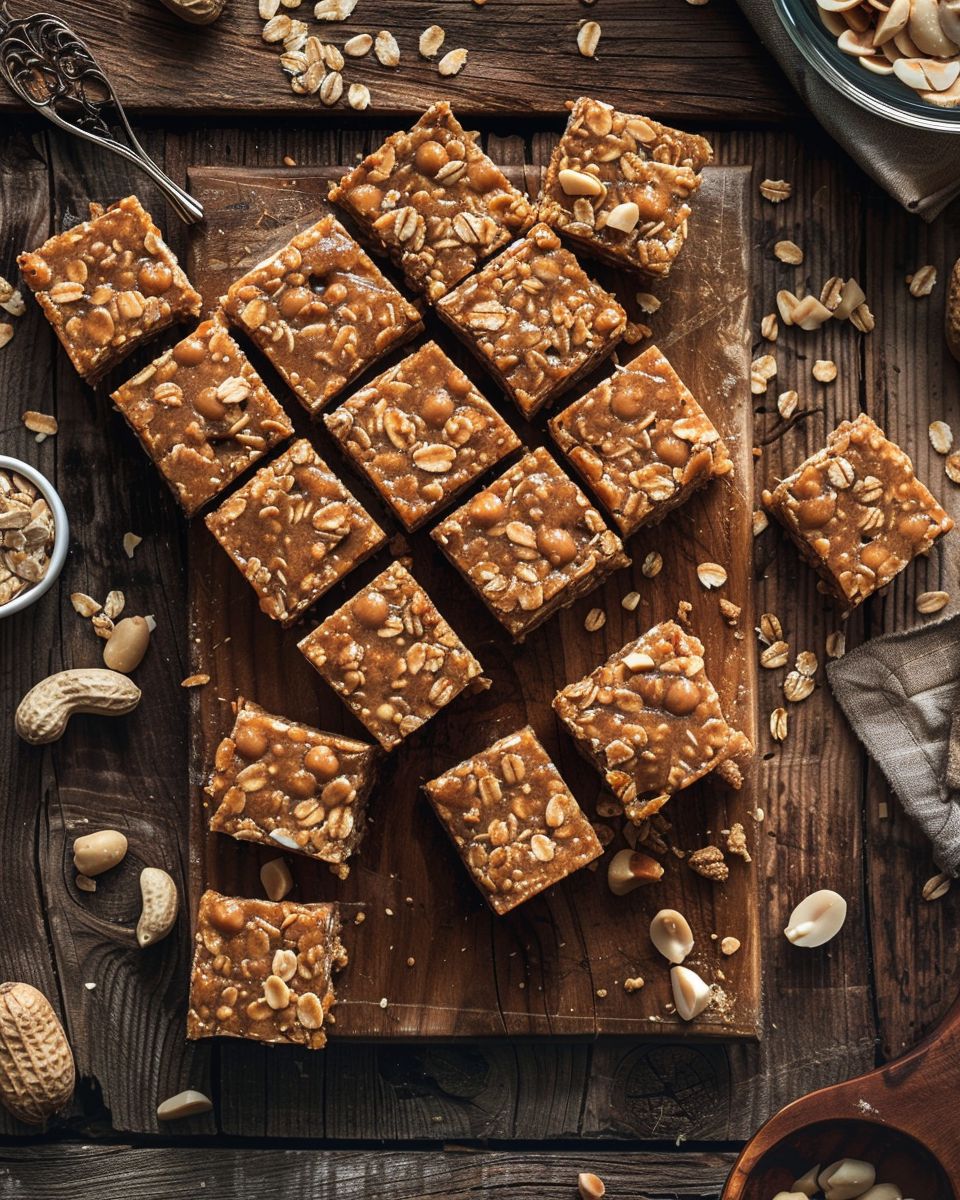
Chill in the fridge for an hour, then slice. That’s literally it. My first attempt? It was messy but delicious. So just don’t stress—the peanut butter granola bars are very forgiving.
“I tried making these with my three kids and we all LOVED them! No-bake really is a game changer for busy mornings.” — Sandra, mom of three

Step-by-Step No-Bake Peanut Butter Granola Bars – Healthy, Chewy & Ready in Minutes
Ingredients
- 2 cups rolled oats
- 1 cup natural peanut butter
- ½ cup honey or maple syrup
- ½ tsp vanilla extract
- ¼ tsp salt
- ½ cup chocolate chips or dried fruit (optional)
Directions
- In a medium saucepan over low heat, warm peanut butter and honey (or maple syrup) until smooth and well combined.
- Remove from heat, stir in vanilla extract and salt.
- Add rolled oats and mix until fully coated. If using chocolate chips or dried fruit, fold them in once the mixture has slightly cooled.
- Line an 8×8-inch baking pan with parchment paper, press the mixture firmly into an even layer.
- Refrigerate for at least 1–2 hours, or until firm.
- Lift out of the pan, slice into bars, and enjoy!
Call to Action
Craving a quick, healthy snack? Try these No-Bake Peanut Butter Granola Bars today and customize them with your favorite add-ins—you’ll never go back to store-bought!
Can I Freeze Granola Bars?
If you’re always running late (welcome to my world), freezing no-bake peanut butter granola bars is a total game plan. After you cut them, toss each bar into little snack bags, then freeze. They don’t get rock hard, so it’s easy to grab one and go. I swear, they’re still good after a whole month in the freezer. If you’ve got a lunchbox, they thaw by snack time. Honestly, they might even taste better cold—I don’t know, maybe it’s just my weird opinion but give it a shot. I once took them hiking and they survived the trip. So you bet they’ll last in the freezer.

Other Topping Ideas for Granola Bars
Can we talk toppings for a second? Boring bars are just sad. But the best part is you can jazz these up in crazy ways (trust me, I went overboard once and never looked back). A few of my go-to’s lately:
- Dark chocolate chunks or white chocolate chips tossed in for a little dessert-wannabe vibe.
- Dried cherries, raisins, or apricots for a hit of tart sweetness.
- Sprinkle of sea salt on top after pressing the mix into the pan—for the fancy people (honestly, so good).
Play around and see what sticks. My neighbor added pretzels once…unexpected, but wow.
| Ingredient Amount Notes | ||
| Old-Fashioned Oats | 2 cups | Use gluten-free oats if needed. |
| Peanut Butter | 1 cup | Creamy works best for texture. |
| Honey | 1/2 cup | Adjust for sweetness preference. |
| Salt | 1/4 tsp | Enhances flavor. |
| Add-Ins (Chocolate, Nuts, etc.) | 1/2 – 1 cup | Go wild with your favorites! |
Gluten-Free Granola Bar Options
Okay, so if you’re dodging gluten like I am sometimes (my stomach can be dramatic), no-bake peanut butter granola bars can totally go gluten-free. Double-check your oats (look for ones labeled gluten-free), and you’re pretty much set. The rest of the ingredients? Peanut butter, honey, add-ins—almost always naturally gluten-free. I promise you won’t taste a difference. One time I swapped in gluten-free pretzels, and it actually brought the best crunch. So, if you have celiac or you’re just avoiding gluten, stick to those easy swaps.
Other On-the-Go Breakfast Ideas
If you’re like me, you need more grab-and-run breakfasts. Here’s the honest truth: these no-bake peanut butter granola bars are stars, but swap things up! Greek yogurt cups with fruit, overnight oats (total classic), or banana with a smear of peanut butter are my lazy-day backup plans. My best friend once threw yogurt, oats, and berries in a jar, left it in the fridge overnight—and claimed she invented breakfast. So, try different stuff, but I’ll always come crawling back to no-bake peanut butter granola bars after a week or two. They just make mornings easier, you know?
Common Questions
Q: Do these bars have to stay in the fridge?
A: Nope! They just hold together better when chilled, but you can keep them at room temp for a day or two too.
Q: Can I use almond butter instead of peanut butter?
A: Yes, swap away. It’s still awesome.
Q: What kind of oats work best?
A: I stick with old-fashioned oats for texture, but quick oats work in a pinch, just don’t use steel-cut.
Q: How long do no-bake peanut butter granola bars last?
A: In the fridge, about a week. If you freeze them, I go up to a month easily.
Q: Are these bars super sweet?
A: It depends how much honey you add. I go a little lighter, but taste as you go!
Delicious Variations for No-Bake Peanut Butter Granola Bars
The beauty of these no-bake granola bars is how easily you can customize them to suit your taste or dietary needs. Swap peanut butter for almond, cashew, or sunflower seed butter for a different flavor or a nut-free option. Replace honey with maple syrup or agave for a vegan version, or add extra texture with shredded coconut, chopped nuts, or pumpkin seeds. For a chocolate lover’s twist, mix in cocoa powder or drizzle melted dark chocolate over the top. You can also fold in dried cranberries, raisins, or even freeze-dried berries for a fruity pop. The possibilities are endless—just keep the ratio of wet to dry ingredients balanced for that perfect chewy bite.
Ready for Breakfast You Actually Want to Eat?
There’s my honest-to-goodness plea for you to try these. No-bake peanut butter granola bars aren’t fancy like a five-star restaurant, but they’re real, chewy, make-ahead gold. I’d put my faith in them to save you on busy mornings. Don’t be scared to tweak and make them your own—seriously, that’s half the fun. If you want more ideas, check out this great resource from the American Peanut Council for more breakfast recipes. Go on, get mixing!

No-Bake Peanut Butter Granola Bars
Ingredients
Equipment
Method
- In a large bowl, add the oats and set aside.
- In a saucepan over low heat, warm the peanut butter, honey, and salt until smooth and runny.
- Pour the warm mixture over the oats and stir until fully combined.
- Stir in any add-ins like chocolate chips, dried fruit, or coconut.
- Line an 8×8-inch pan with parchment or foil. Press the mixture in firmly using a flat object or another sheet of parchment.
- Refrigerate for 1 hour, then slice into bars and serve.
